Testing Your Presentation
Before presenting to a live audience, you should test your presentation thoroughly. ARuVR provides two ways to launch your presentation directly from the editor: Present to Audience for live sessions and Test in VR for self-paced previews.
The Present Button
The Present button is located in the top-right corner of the editor toolbar. It is a green button with a dropdown arrow that reveals two options when clicked.

Present Options
Click the Present dropdown arrow to reveal the two available modes.
Present to Audience
Select Present to Audience to create a live session and invite trainees. This option opens the session creation flow where you:
- Name your session
- Set the timezone, start time, and optional end time
- Add a welcome message for attendees
- Share the session link or invite attendees by email
Once the session is live, you control the presentation in real-time while attendees follow along on their devices. Use this option when you are ready to deliver the presentation to your audience.
Info
For full details on creating and managing sessions, see Managing Sessions.
Test in VR
Select Test in VR to open a self-paced WebXR preview of your presentation. This launches the presentation in your browser’s WebXR viewer, allowing you to experience it exactly as an attendee would — without creating a session or inviting anyone.
In the WebXR preview you can:
- Navigate through all slides at your own pace
- Interact with markers (click, hover, grab)
- Trigger behaviors and verify they execute correctly
- Watch videos and listen to audio
- Test poll interactions
- Experience the full 360-degree or 3D environment
Tip
Test in VR is the fastest way to verify your work. Use it frequently as you build your presentation — there is no need to create a session every time you want to check something.
The Editor Toolbar
The editor provides quick-access buttons along the bottom of the canvas for all the tools you need while building and testing your presentation. Understanding these tools helps you iterate quickly between editing and testing.
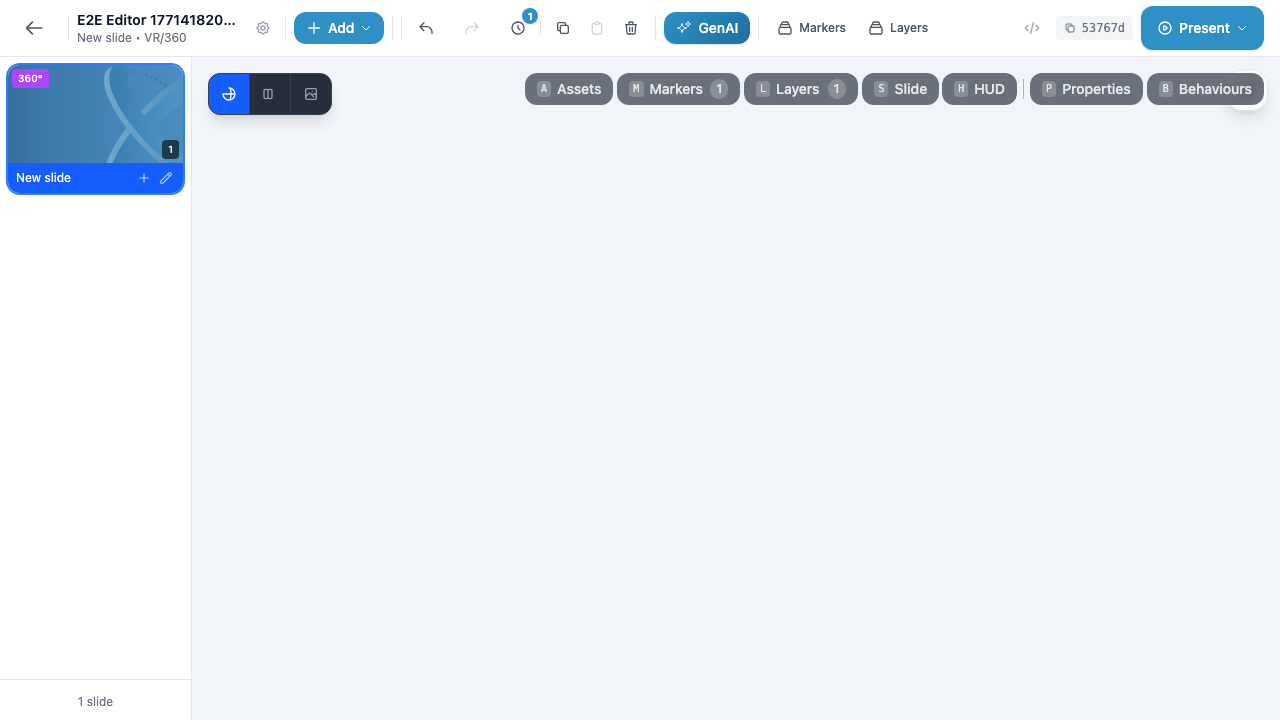
Bottom Toolbar Buttons
| Button | Shortcut | Description |
|---|---|---|
| Assets | — | Open the asset library to browse and manage uploaded media files |
| Markers | M | Open the Markers Overview panel showing all markers across all slides |
| Layers | L | Open the Layers panel listing every marker on the current slide with visibility and lock controls |
| Slide | — | Open slide settings for the current slide (background image, type, environment) |
| HUD | — | Configure the heads-up display elements visible during the presentation |
| Properties | P | Open the Properties panel for the selected marker to edit its name, transform, options, and type-specific settings |
| Behaviours | — | Open the Behavior Editor for the selected marker to add triggers, actions, and conditions |
Top Toolbar
The top toolbar contains additional controls:
| Button | Description |
|---|---|
| Back arrow | Return to the Presentations list |
| Settings gear | Open presentation-level settings (title, description, thumbnail) |
| + Add | Open the QuickAdd modal to create new markers |
| Undo / Redo | Step backward or forward through your editing history |
| History | View the full edit history log |
| Copy / Duplicate / Delete | Actions for the currently selected marker |
| GenAI | Open the AI assistant for generating content |
| Markers / Layers | Quick toggles for the right-side panels |
| Present | Launch the presentation (Present to Audience or Test in VR) |
Testing Checklist
Before presenting to a live audience, run through this checklist using Test in VR to catch issues early.
Slide Transitions
- [ ] Navigate forward through every slide and verify they load correctly
- [ ] Navigate backward to confirm reverse navigation works
- [ ] Check that any “Go to Slide” behaviors jump to the correct slide
- [ ] Verify that the first and last slides behave as expected (no unintended looping)
Marker Interactions
- [ ] Click every clickable marker and verify the expected behavior fires
- [ ] Hover over markers with hover-in/hover-out triggers and confirm they respond
- [ ] Test any markers set to Hidden — verify they appear when a “Show” behavior is triggered
- [ ] Confirm Disabled markers cannot be interacted with
Behaviors
- [ ] Verify that Show and Hide actions target the correct markers
- [ ] Test Navigate actions to confirm they go to the right slides
- [ ] Check that Open URL actions open the correct links
- [ ] Test any delay settings — behaviors should fire after the configured delay
- [ ] Verify behavior conditions work (e.g., only trigger when a certain value is set)
Media
- [ ] Play every video marker and confirm it plays correctly with sound
- [ ] Play every audio marker and verify it is audible
- [ ] Check that images load and display at the correct size and position
- [ ] Test autoplay settings — media set to autoplay should start when the slide loads
Polls
- [ ] Submit answers to every poll and verify the correct option is registered
- [ ] Test “Show Results” behaviors to confirm results display after voting
- [ ] Verify that poll option triggers (option_0, option_1, etc.) fire the correct behaviors
Cross-Device Testing
- [ ] Desktop browser — Test in a standard browser to verify the WebXR fallback works
- [ ] Mobile device — Open the presentation on a phone or tablet to check touch interactions and responsiveness
- [ ] VR headset — If you have access to a VR headset, test the full immersive experience including gaze controls, hand tracking, and spatial audio
Warning
Some behaviors (such as grab and collide on 3D markers) can only be fully tested in a VR headset. Desktop and mobile previews may not support all interaction types.
Final Checks
- [ ] Review the Welcome Message in your session settings — this is the first thing attendees see
- [ ] Confirm that the presentation title and thumbnail look correct in the session details
- [ ] Test the complete flow from start to finish without stopping, simulating a real session
Tip
If you find an issue during testing, press the back arrow in the top-left corner to return to the editor. Fix the problem, then click Present > Test in VR again to verify the fix. This edit-test cycle is the fastest way to iterate on your presentation.